Getting Started
Install Giraforms, create your first form, and publish it on your WordPress site in minutes.
Installation
Download & Install
In your WordPress admin, go to Plugins → Add New. Search for Giraforms and click Install Now, then Activate.
Alternatively, upload the giraforms.zip file via Plugins → Add New → Upload Plugin.
Verify Activation
Once activated, you'll see a new Giraforms menu item in the WordPress admin sidebar. Click it to access the form builder.
Giraforms menu in the WordPress admin sidebar
Creating Your First Form
Giraforms uses native Gutenberg blocks — you build your form directly in the page or post where you want it to appear. No separate form builder, no shortcodes.
Open a Page or Post
Create a new page (or edit an existing one) via Pages → Add New in the WordPress admin.
Add a Form Container
Click the + block inserter and search for Giraforms Form Container. This is the wrapper block that holds all your fields and manages form settings. Every form starts with a Form Container.
Add Fields Inside the Container
Inside the Form Container, click + to add Giraforms field blocks. Search for the field type you need and drag them into the order you want:
- Text — for names and general input
- Email — with built-in validation
- Textarea — for longer messages
See Form Fields for all 18 available field types.

Adding Giraforms field blocks inside a Form Container in the block editor
Configure Form Settings
Select the Form Container block. In the right sidebar inspector, configure:
- Submit button text — customize the label
- Success message — what users see after submitting
- Email notifications — where to send submissions
Publish
Click Publish (or Update). Your form is live on the page — no extra embedding step needed.
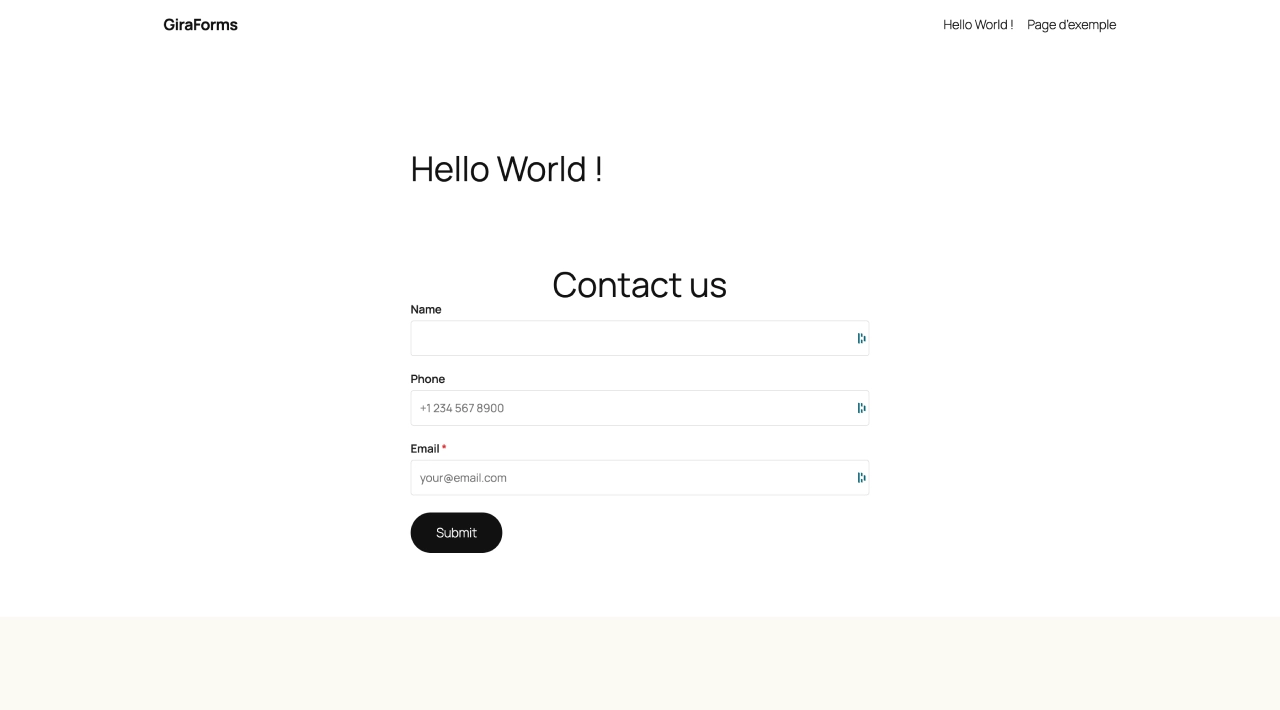
A published contact form on the front-end